How to virtually simulate Rhinoplasty (Nose Job)
If you’re considering a nose job or rhinoplasty, then you may find it beneficial to upload your photo to a nose job simulation program such as FaceTouchUp. With this tool, you can reshape parts of your nose to experiment and see what your ideal nose may look like. The tool works best for cases where you need to change your nose’s side profile, or narrow your nose’s front profile.
Once you’re done reshaping your nose, you can send the before/after photos to your facial plastic surgeon to discuss the possibilities.
Here’s the steps to do both. At the end, you can try the program yourself using your own photos. If you have any feedback or need any assistance, feel free to contact us.
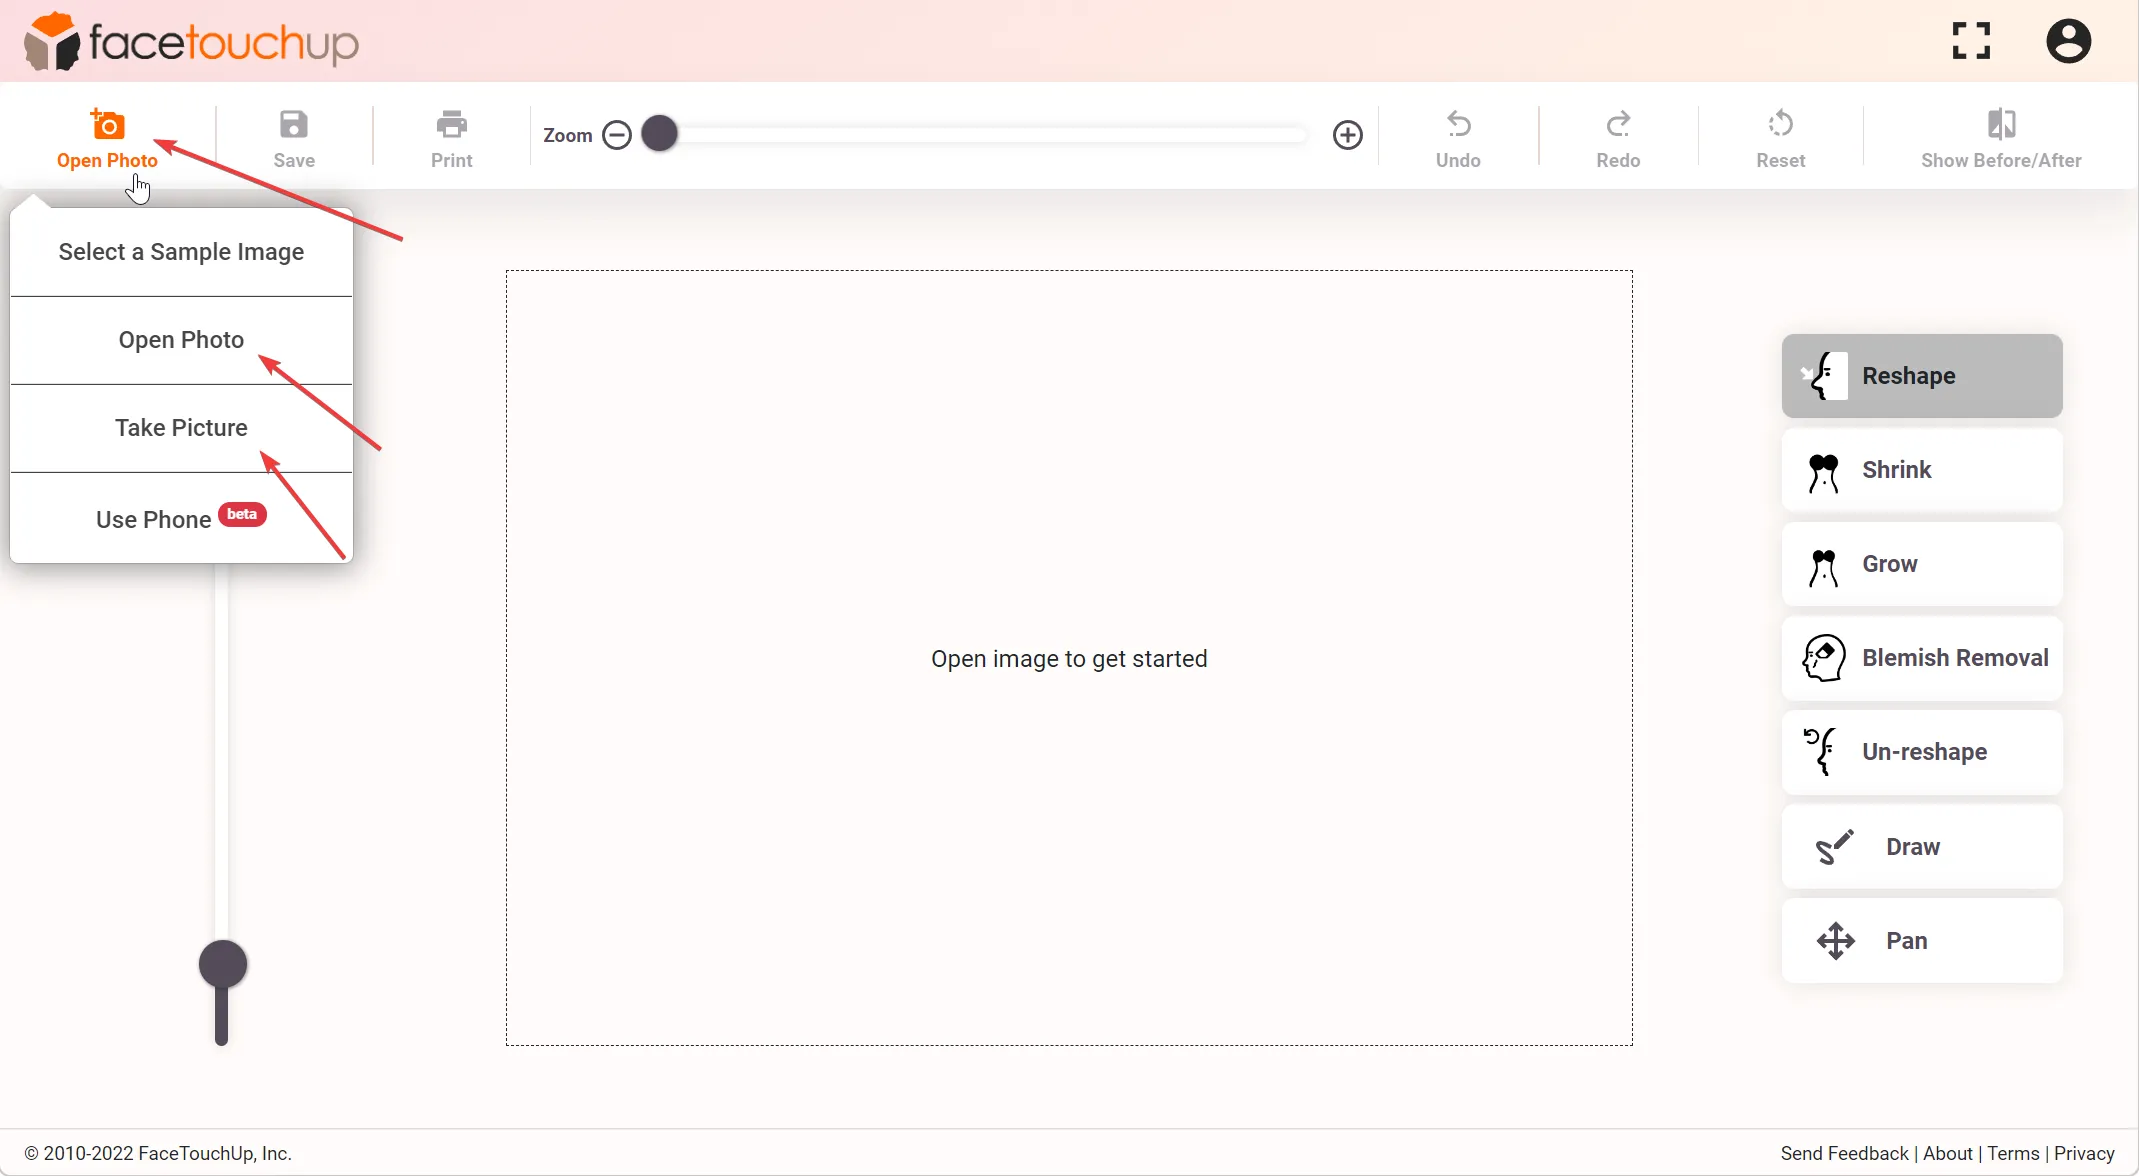
The simulator is entirely online and can be launched using a browser on any mobile or desktop device. To start simulating rhinoplasties, take a side profile picture and load it into FaceTouchUp.
Changing your nose’s side profile
Best for noses with a large bridge or ‘hooked’ side profile.
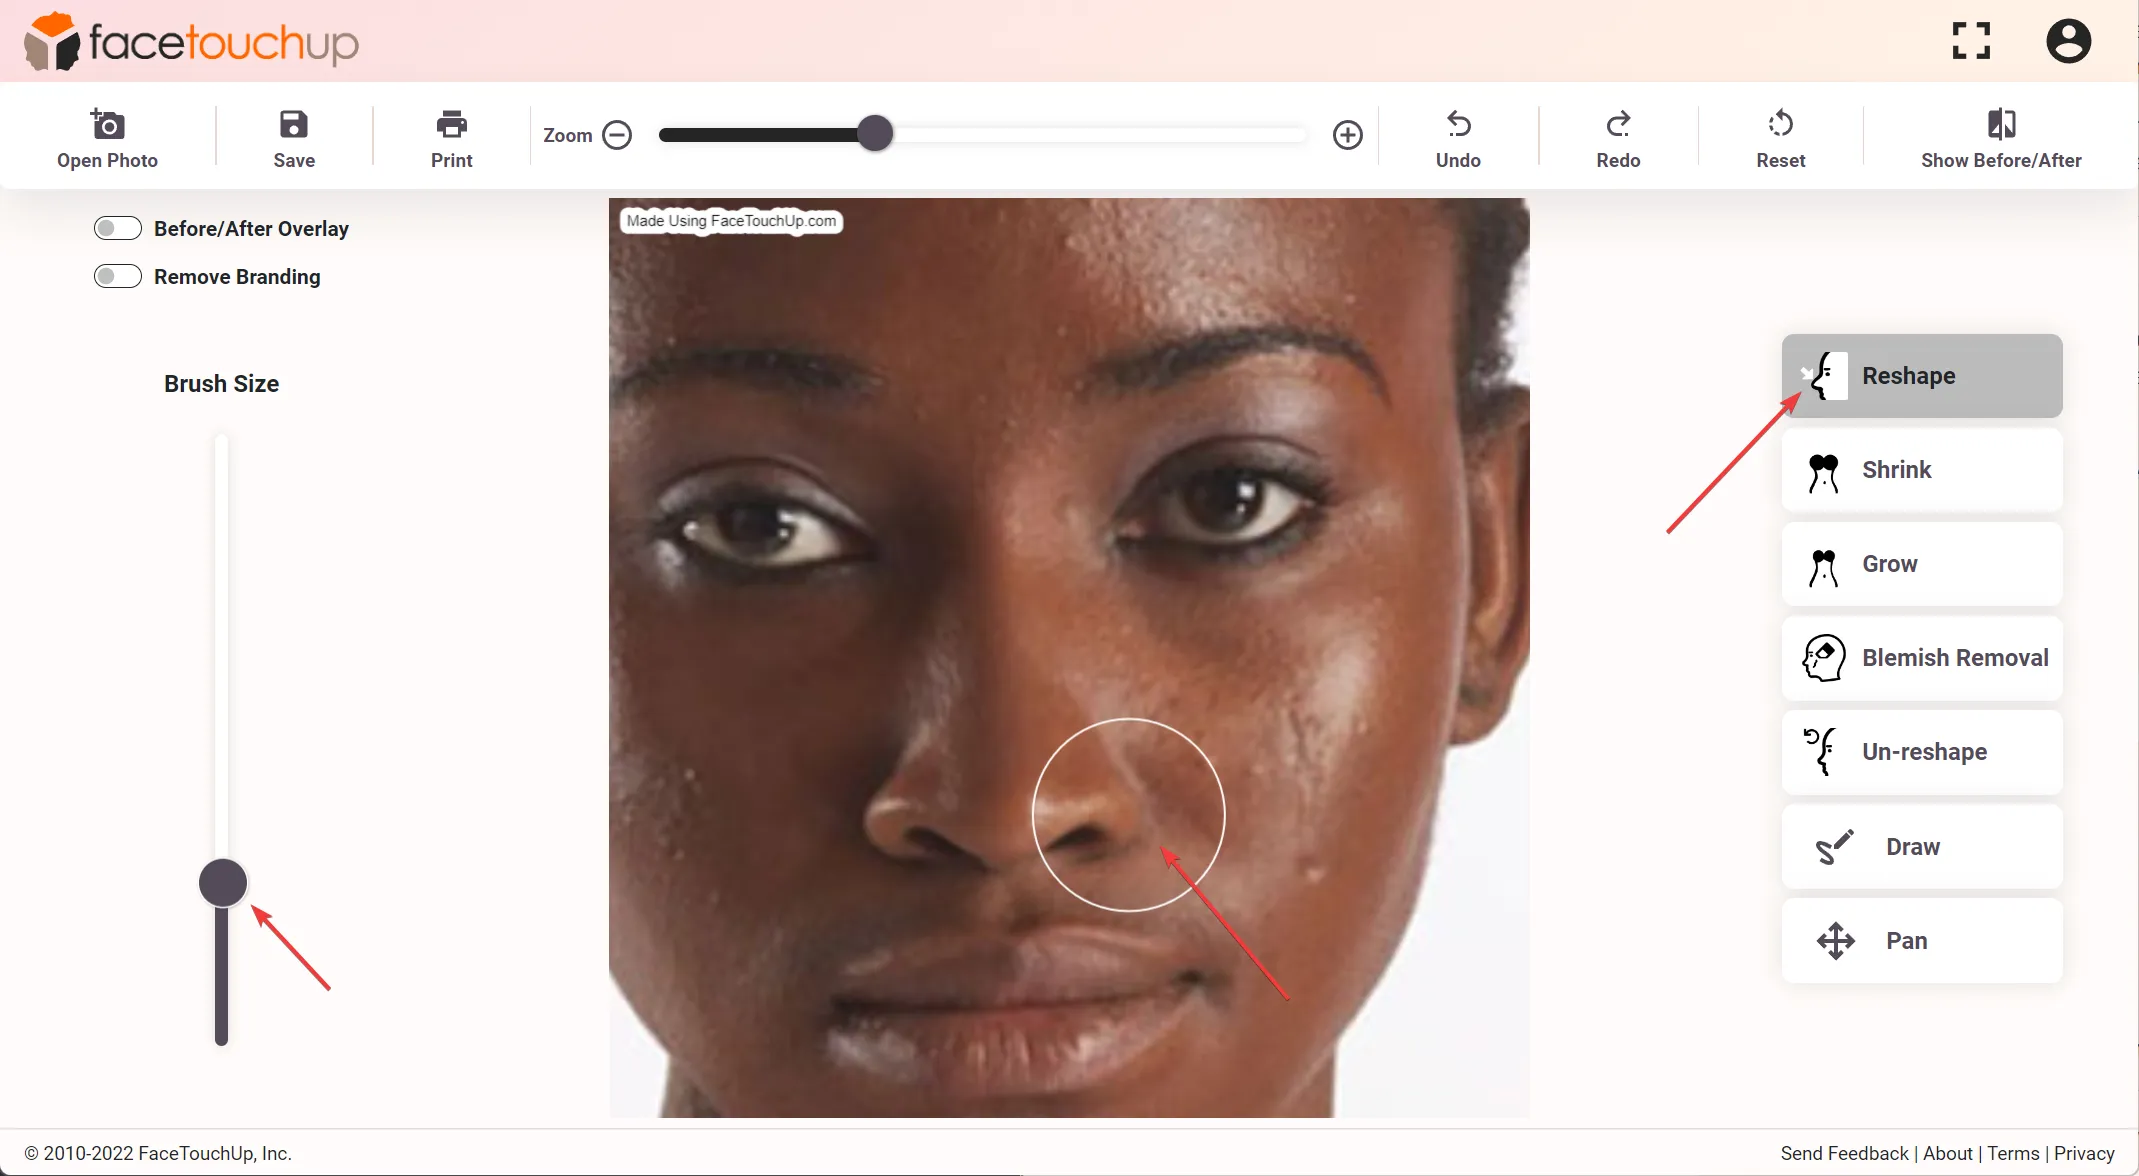
Step 1 : Upload photo and use Reshape tool
The reshape tool is the most helpful tool when simulating Rhinoplasty.
Click and drag the area on the nose that requires change. Evident changes are shown as the area is being dragged. Release the mouse to lock in the desired change. Use the tool to smooth out bumps or imperfections and refine the contours of the nose until the desired image is produced.
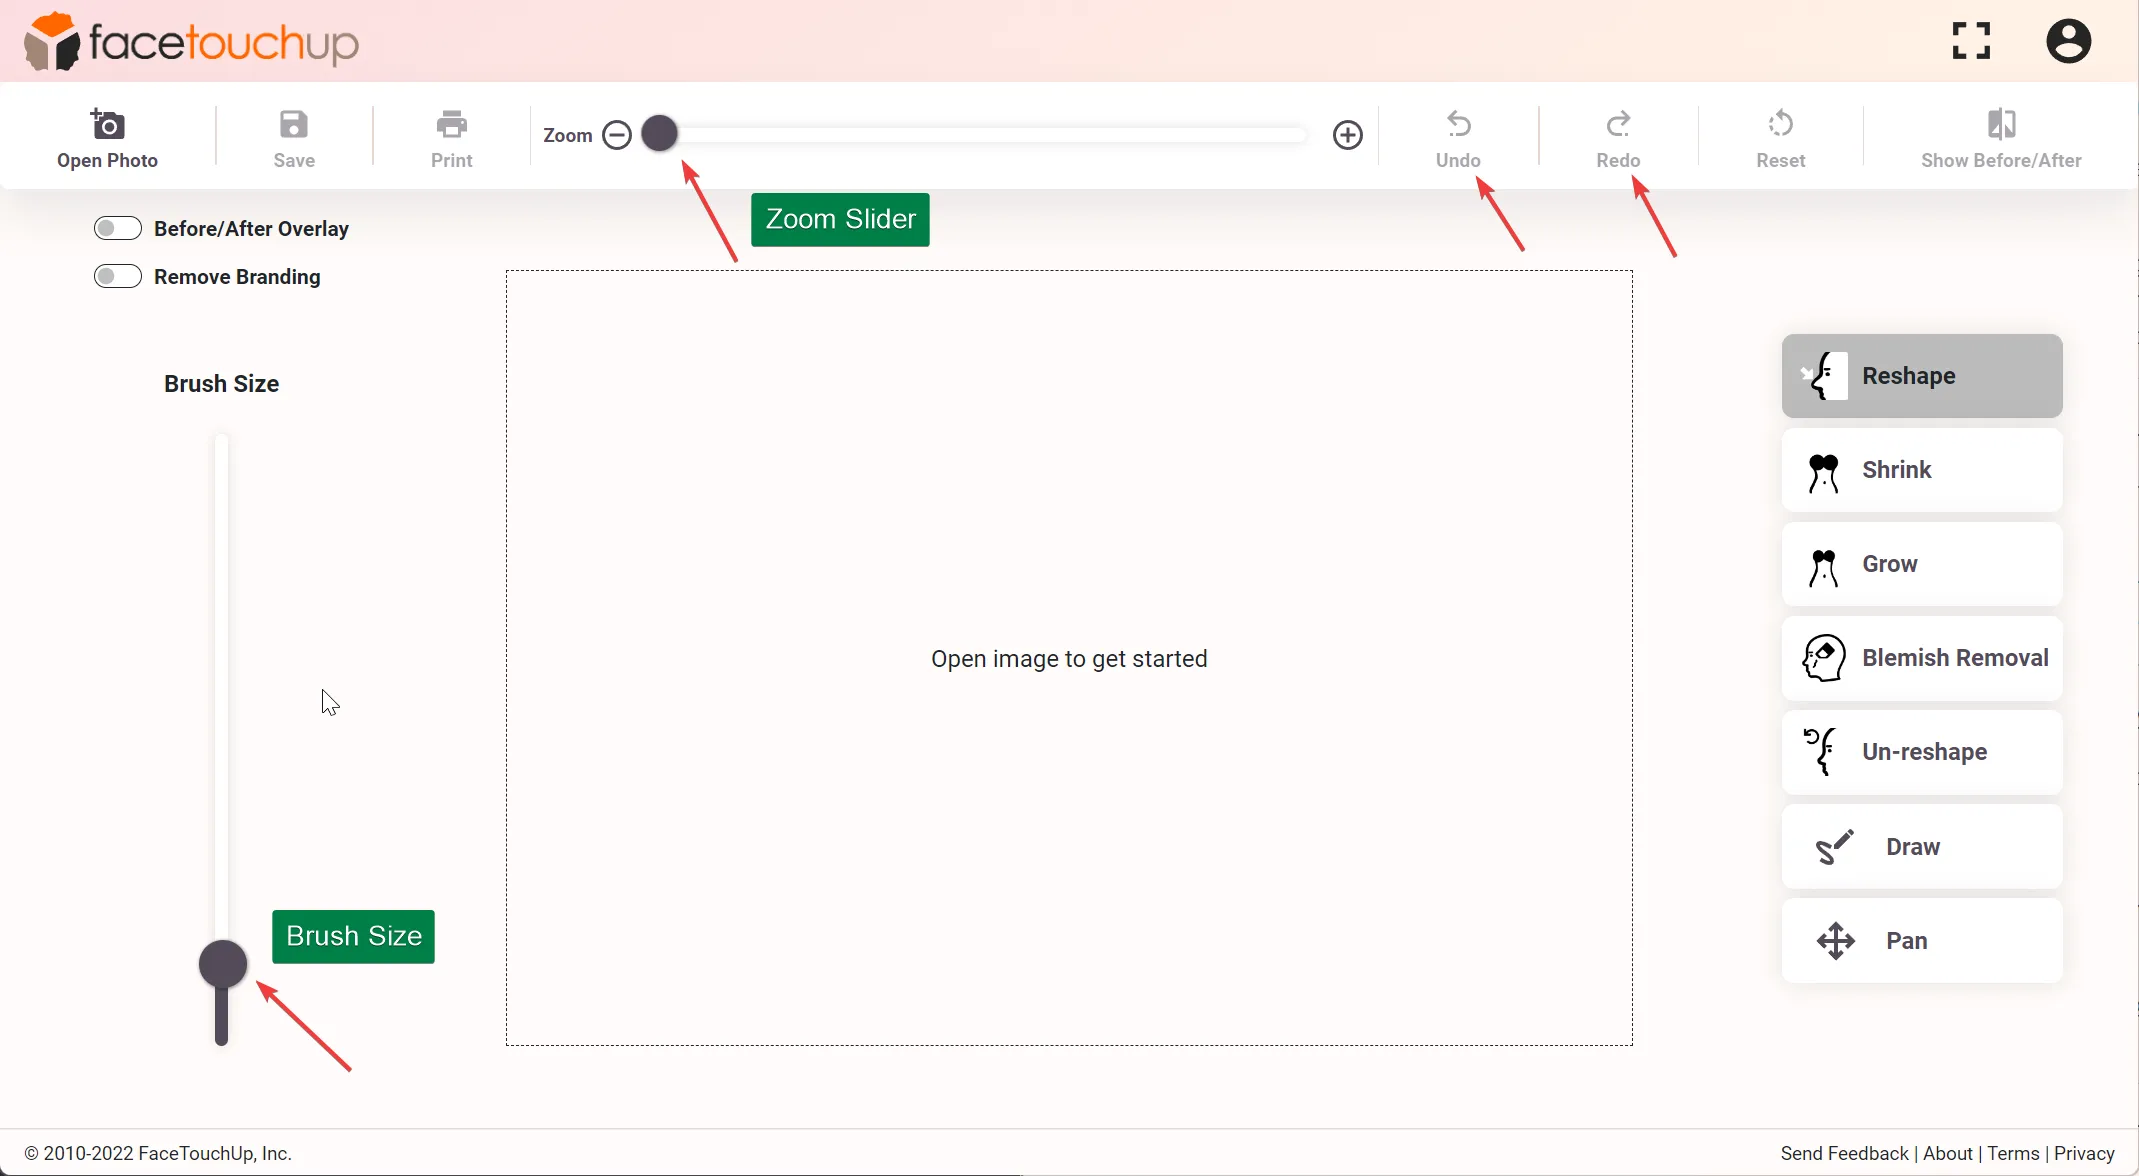
Step 2 : Make finer adjustments
To make finer changes, zoom into a picture or change the brush size using the sliders.
In order to edit the changes already made, there is an “undo” button to go back as many steps as needed. To reapply changes, use the redo button.
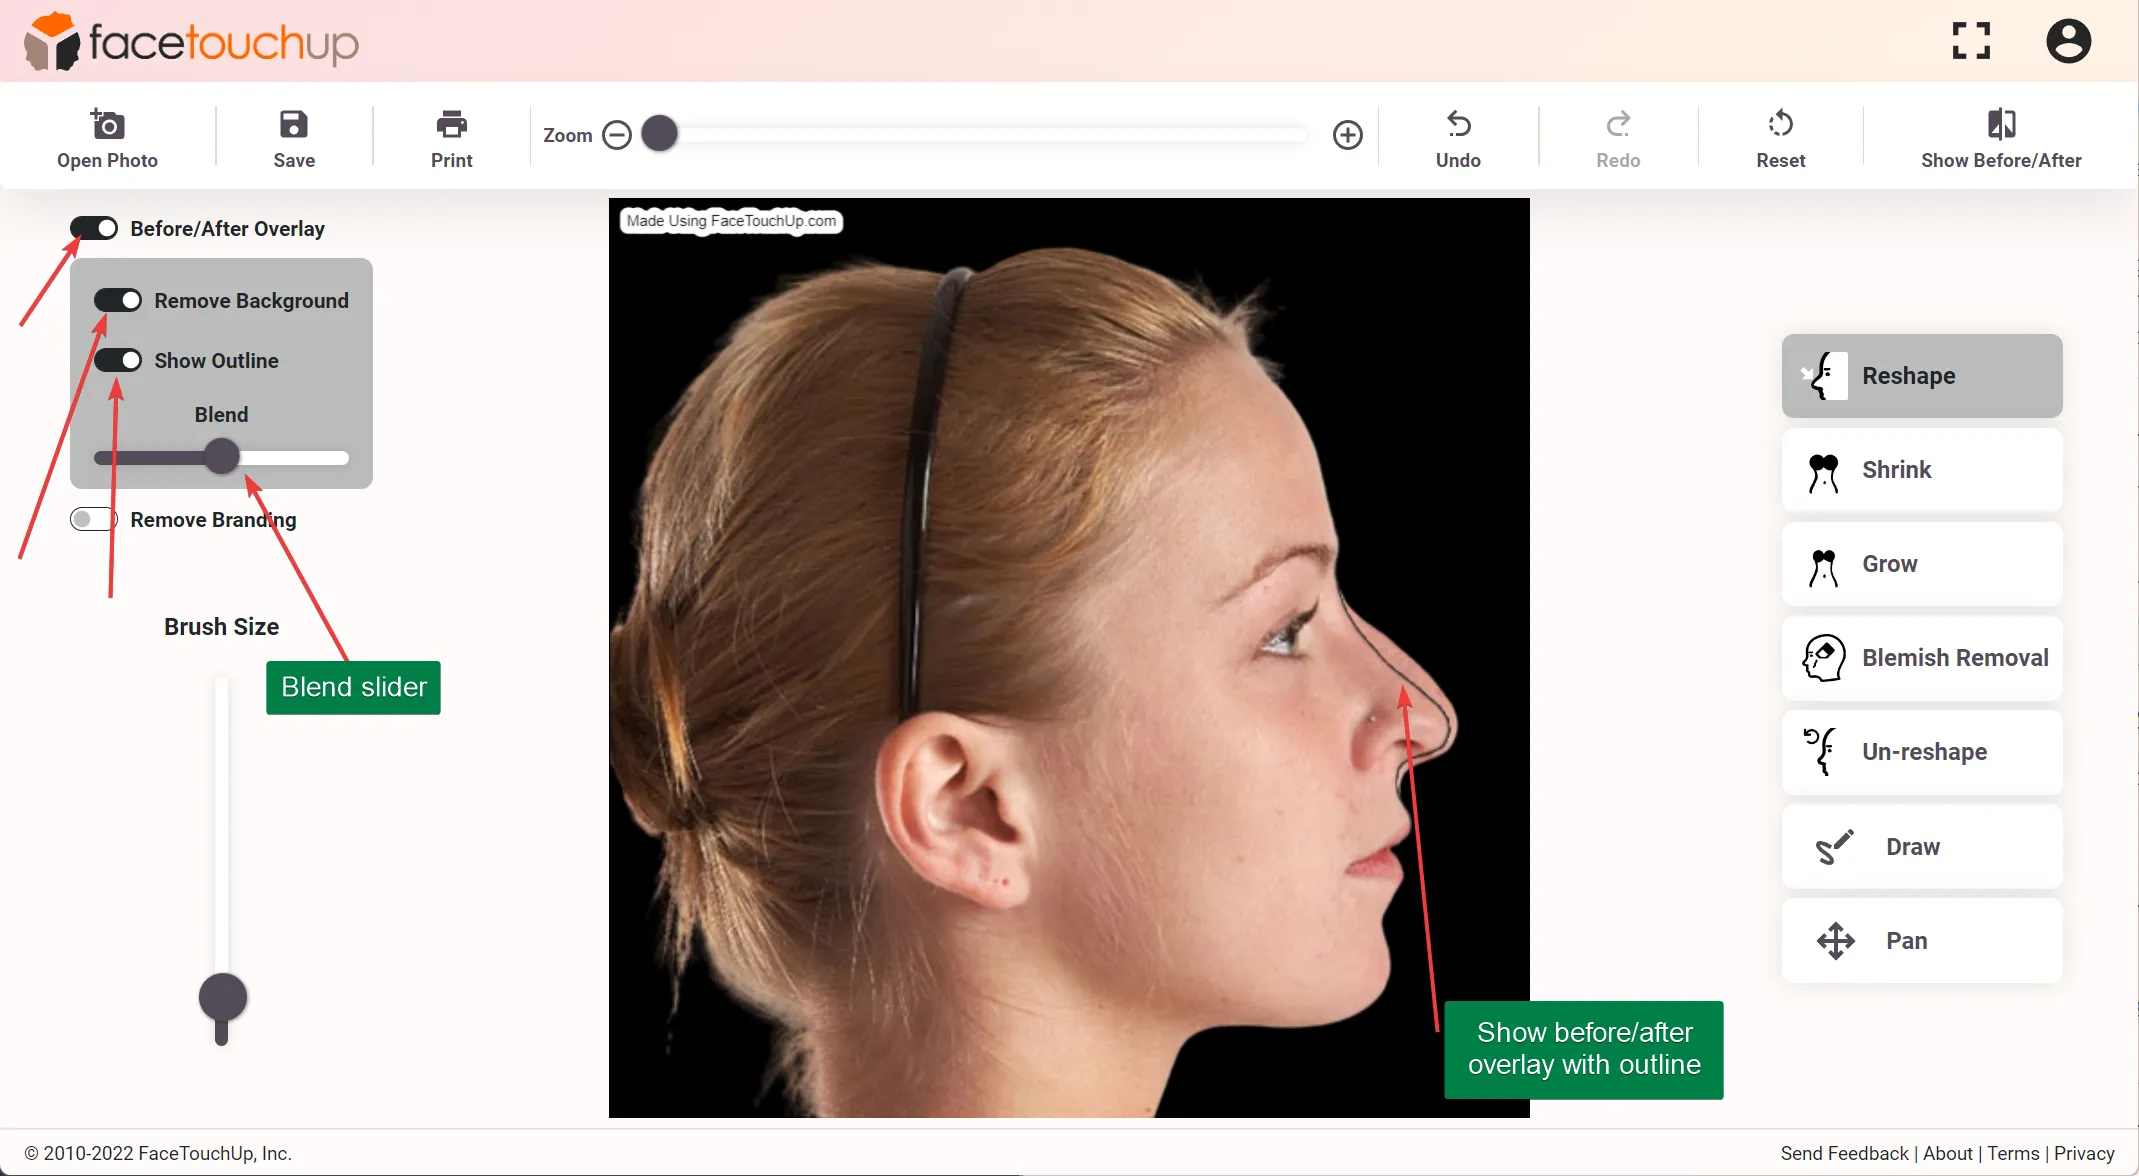
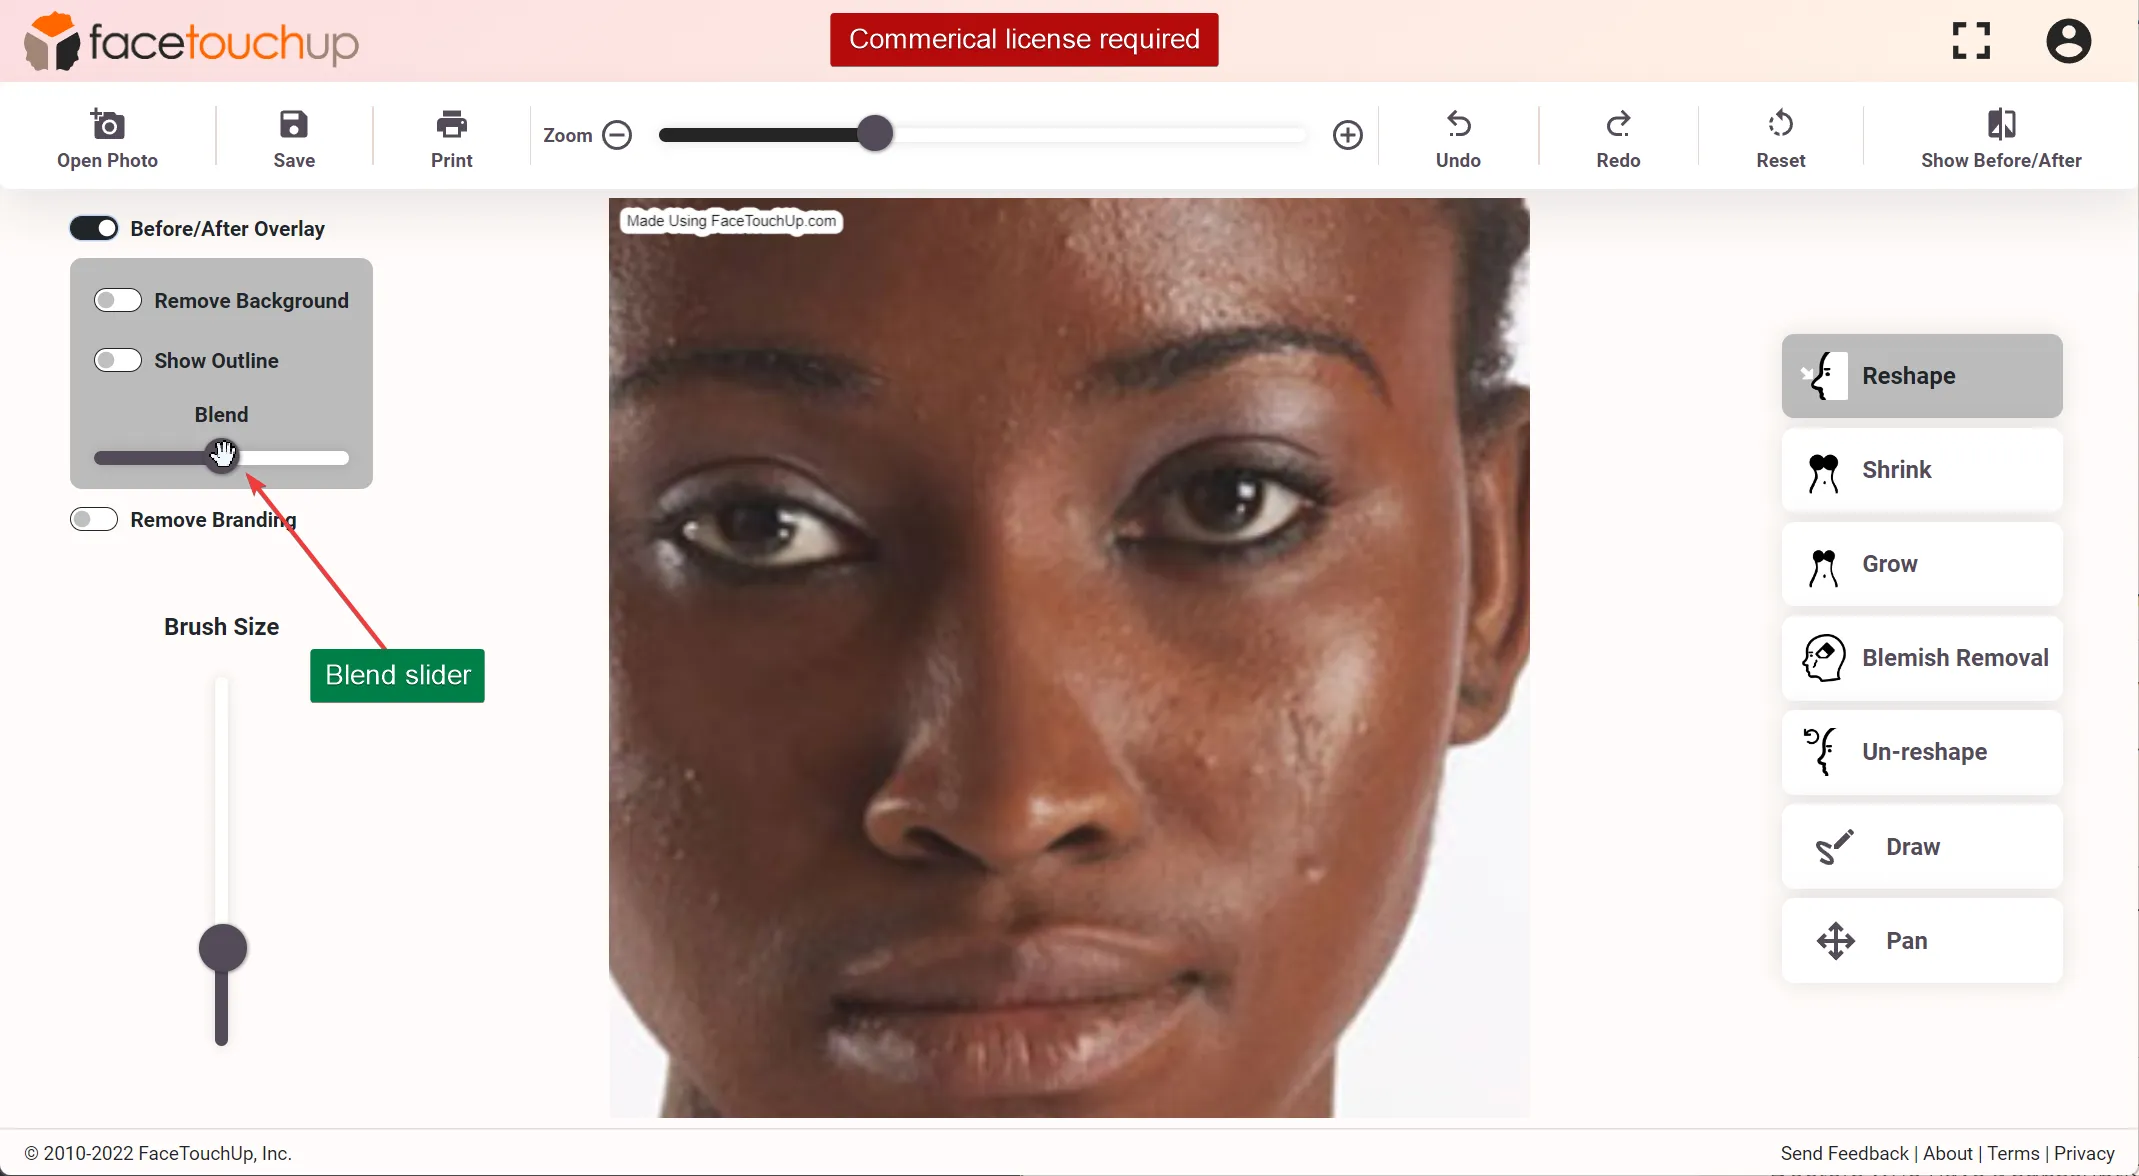
Step 3 : Use the Overlay feature (commercial license needed)
Doctors who have a subscription to the commercial license also have access to the Overlay feature, a tool specially made for plastic surgeons.
This feature is enabled by toggling the tool. Toggling the “Remove Background” and “Show Outline” options show the changes a patient can expect.
After making the desired changes, use the blend slider to show the changes to the patient.
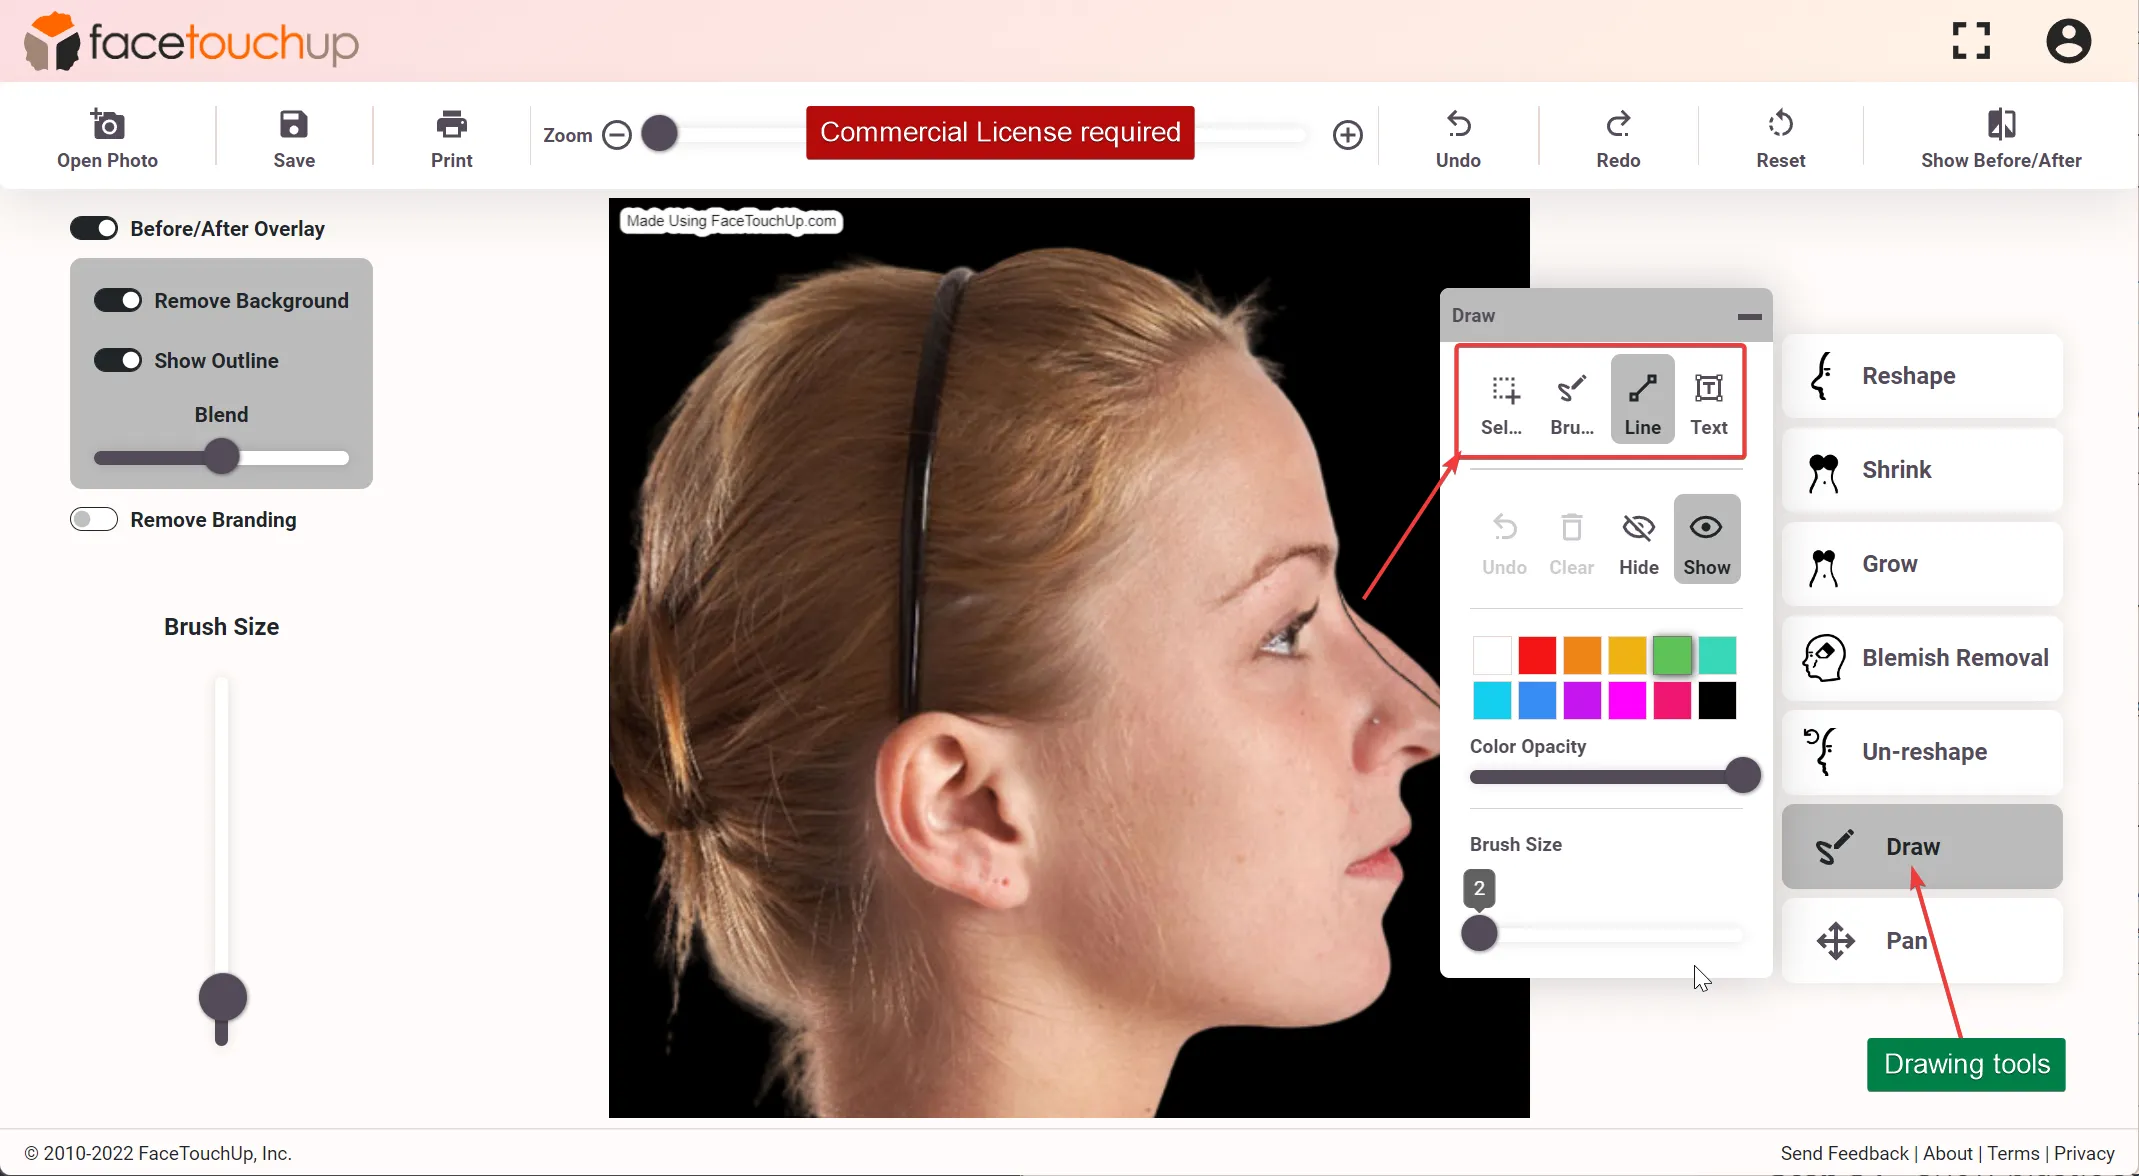
Step 4 : Use the Drawing features (commercial license needed)
Doctors with a commercial license also have access to Drawing tools that can be used to annotate the image with lines, free-hand drawing, and text to highlight incision lines and add additional information to the image.
This greatly helps communication with patients and helps them visualize surgery results.
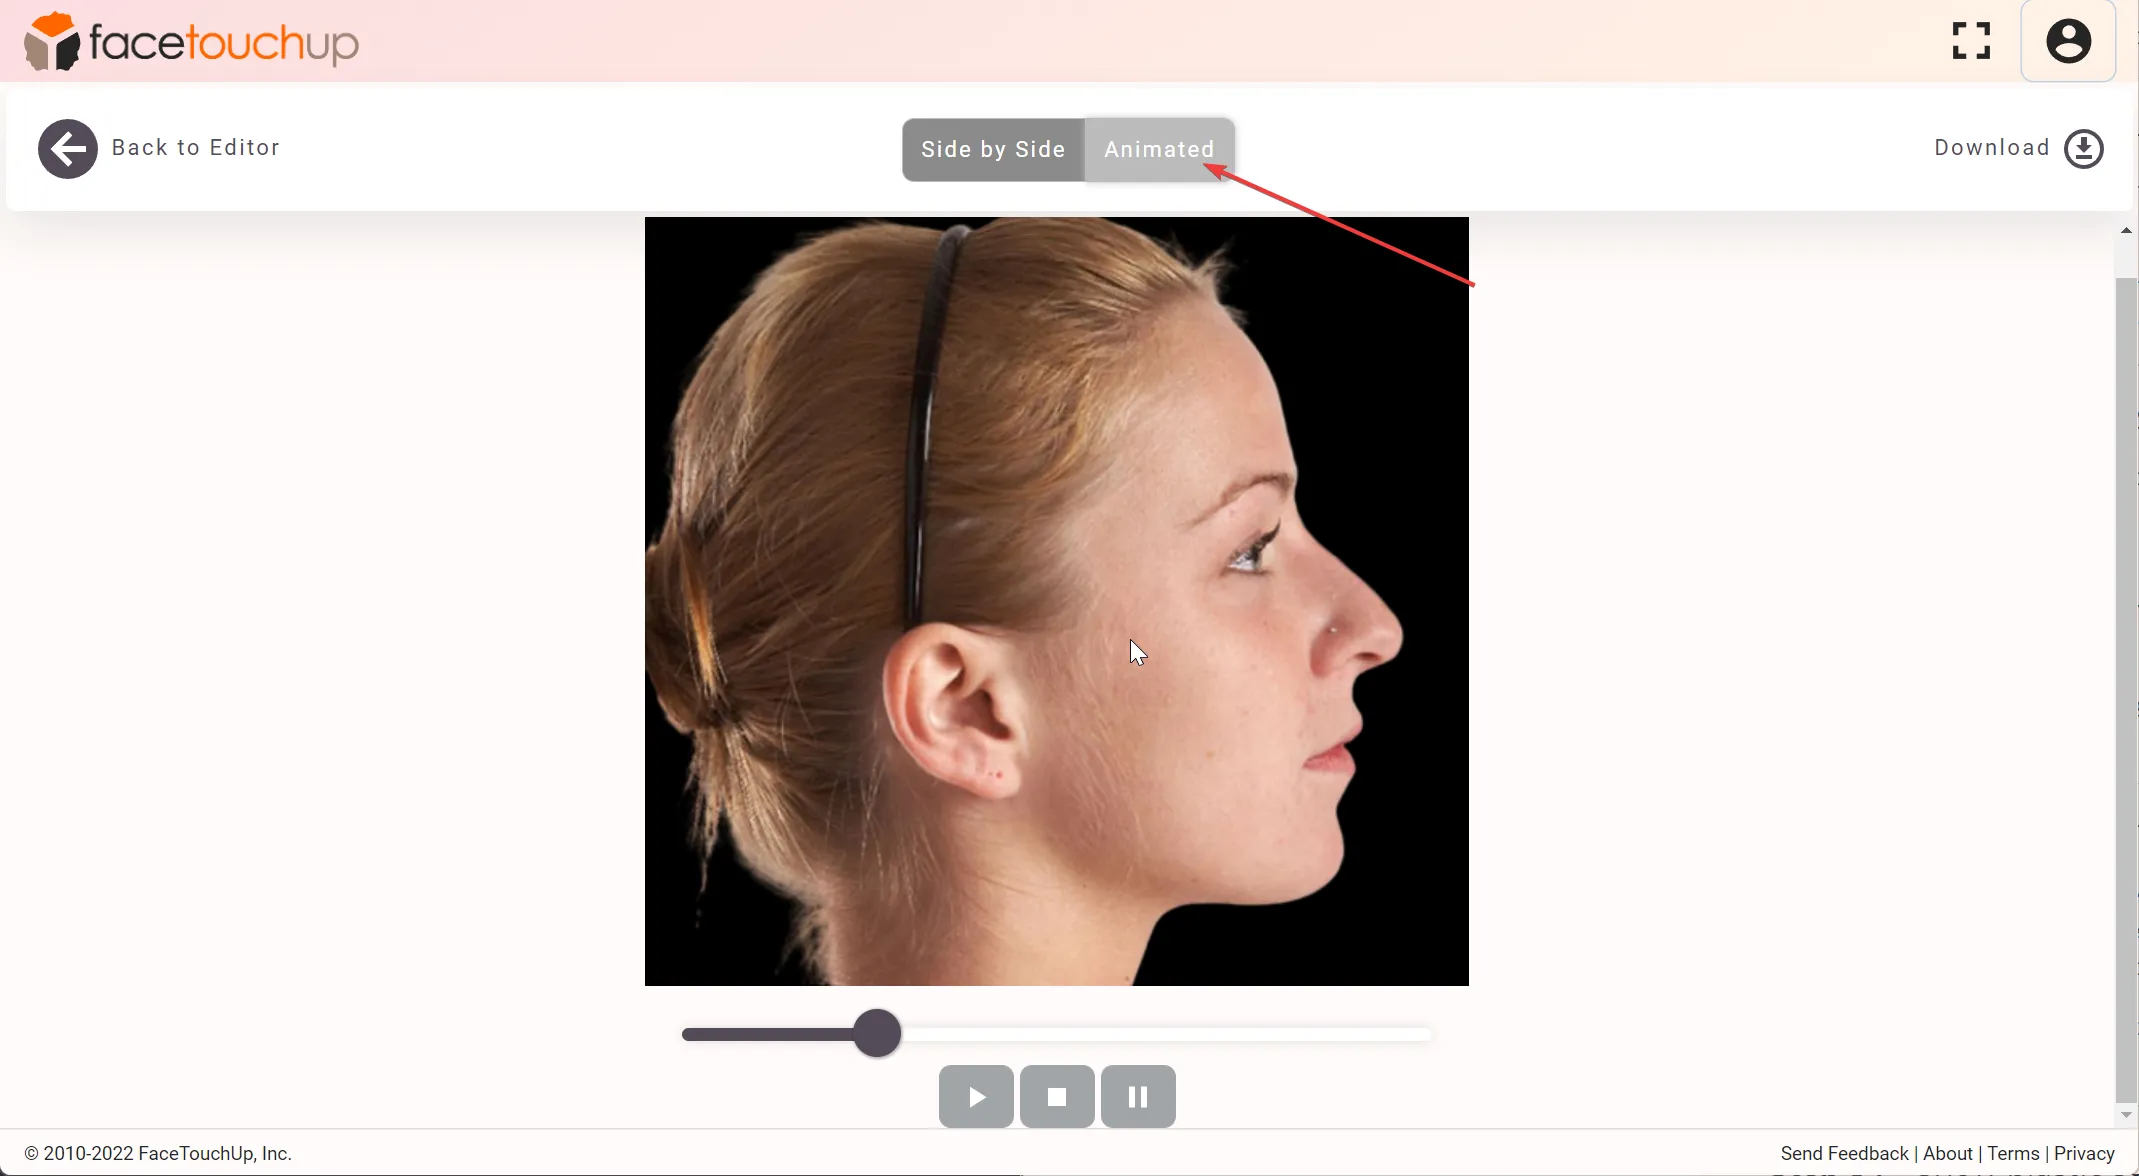
Step 5 : Show plastic surgery before/after & animation
Click the Show Before/After menu item to see the result. The animation tab shows the changes in a cool animation.
The before/after images & animation gives a clear representation of the changes a patient can expect after a plastic surgery.
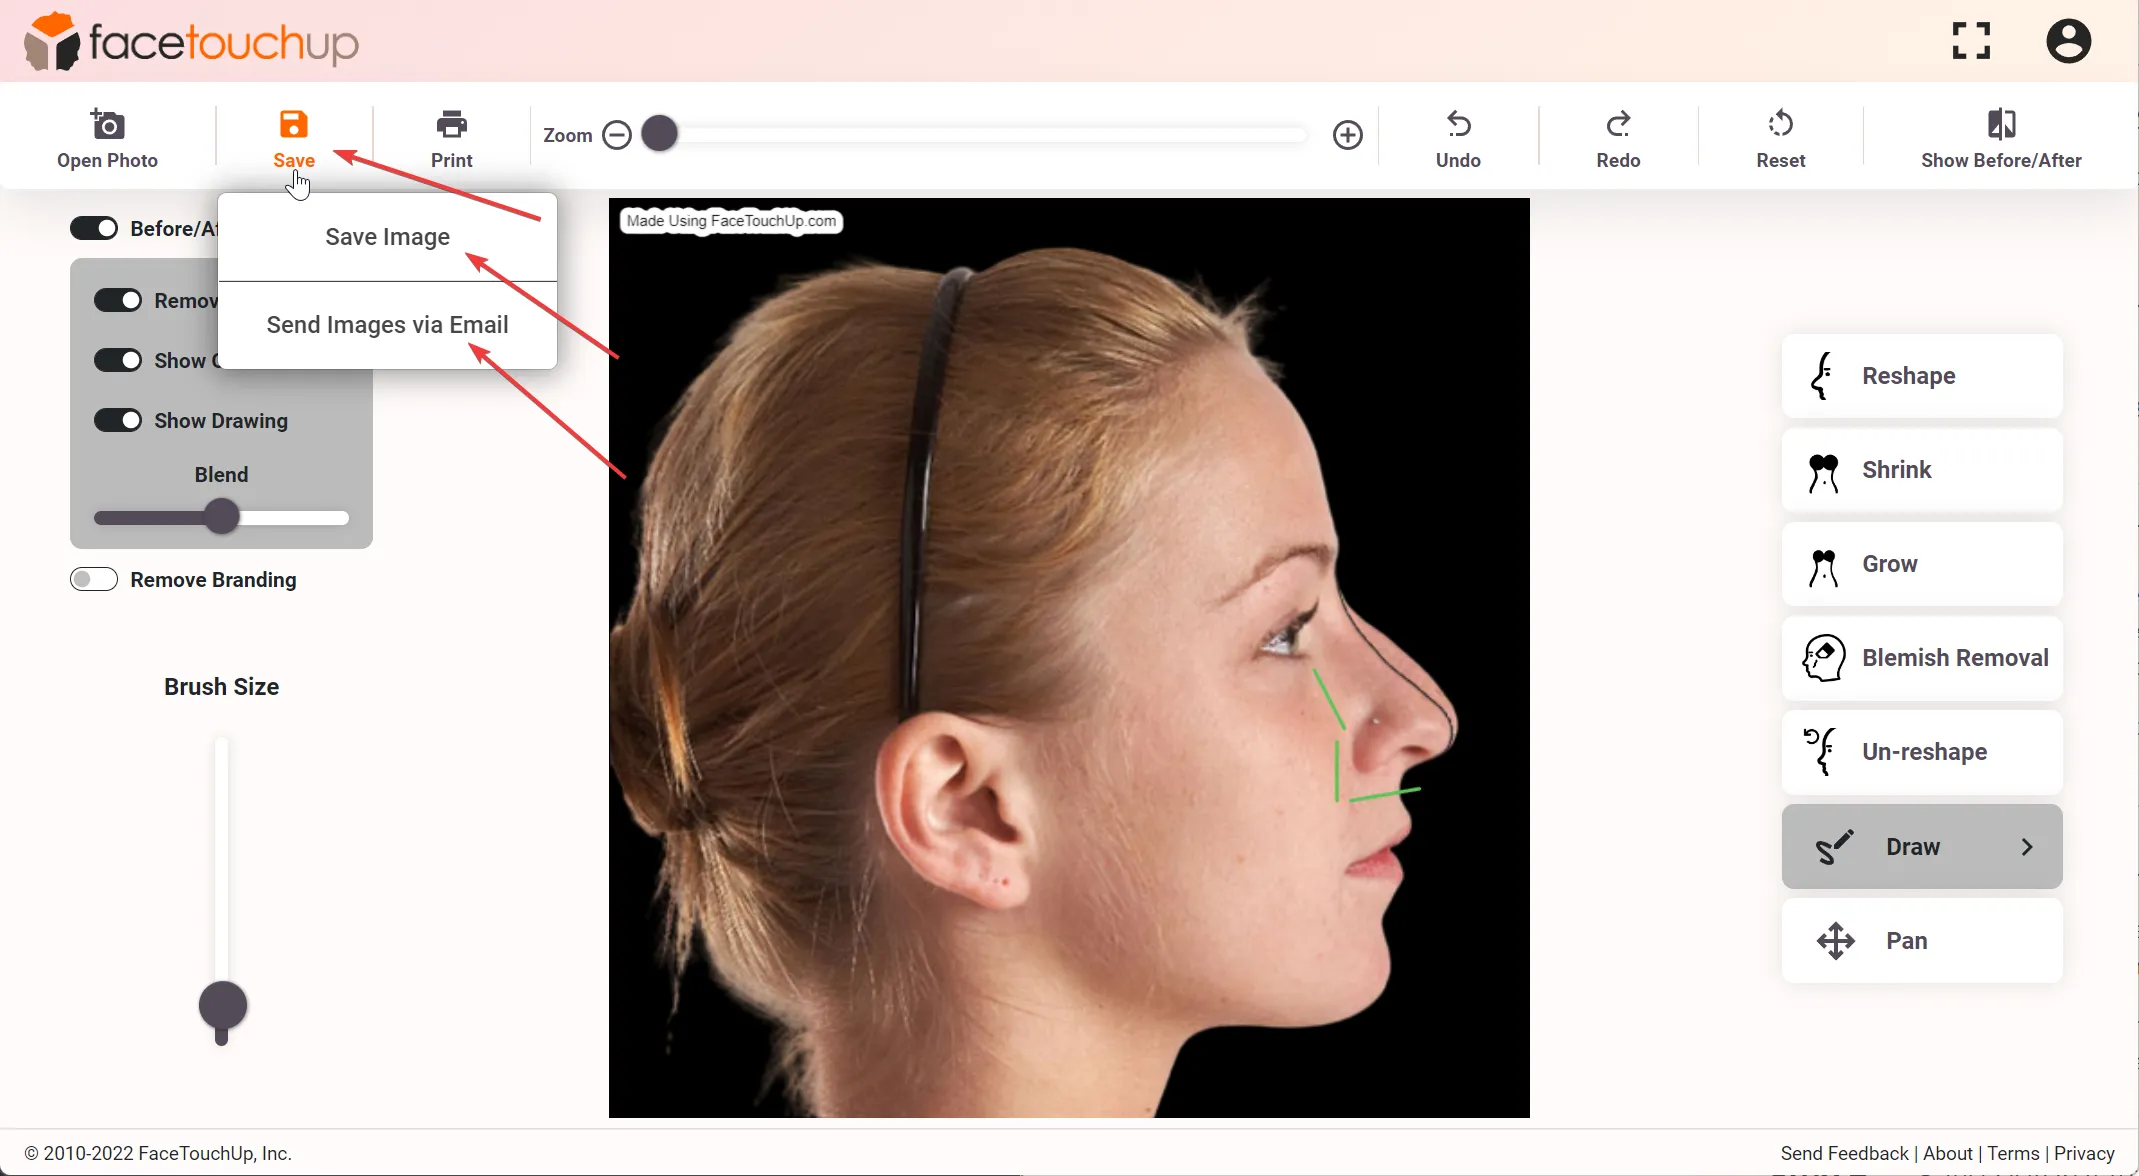
Step 6 : Save before/after or send emails
To save the simulated images, use the Save menu from the toolbar. From the dialog, choose the options to save “Before”, “after” and “animated” images as needed.
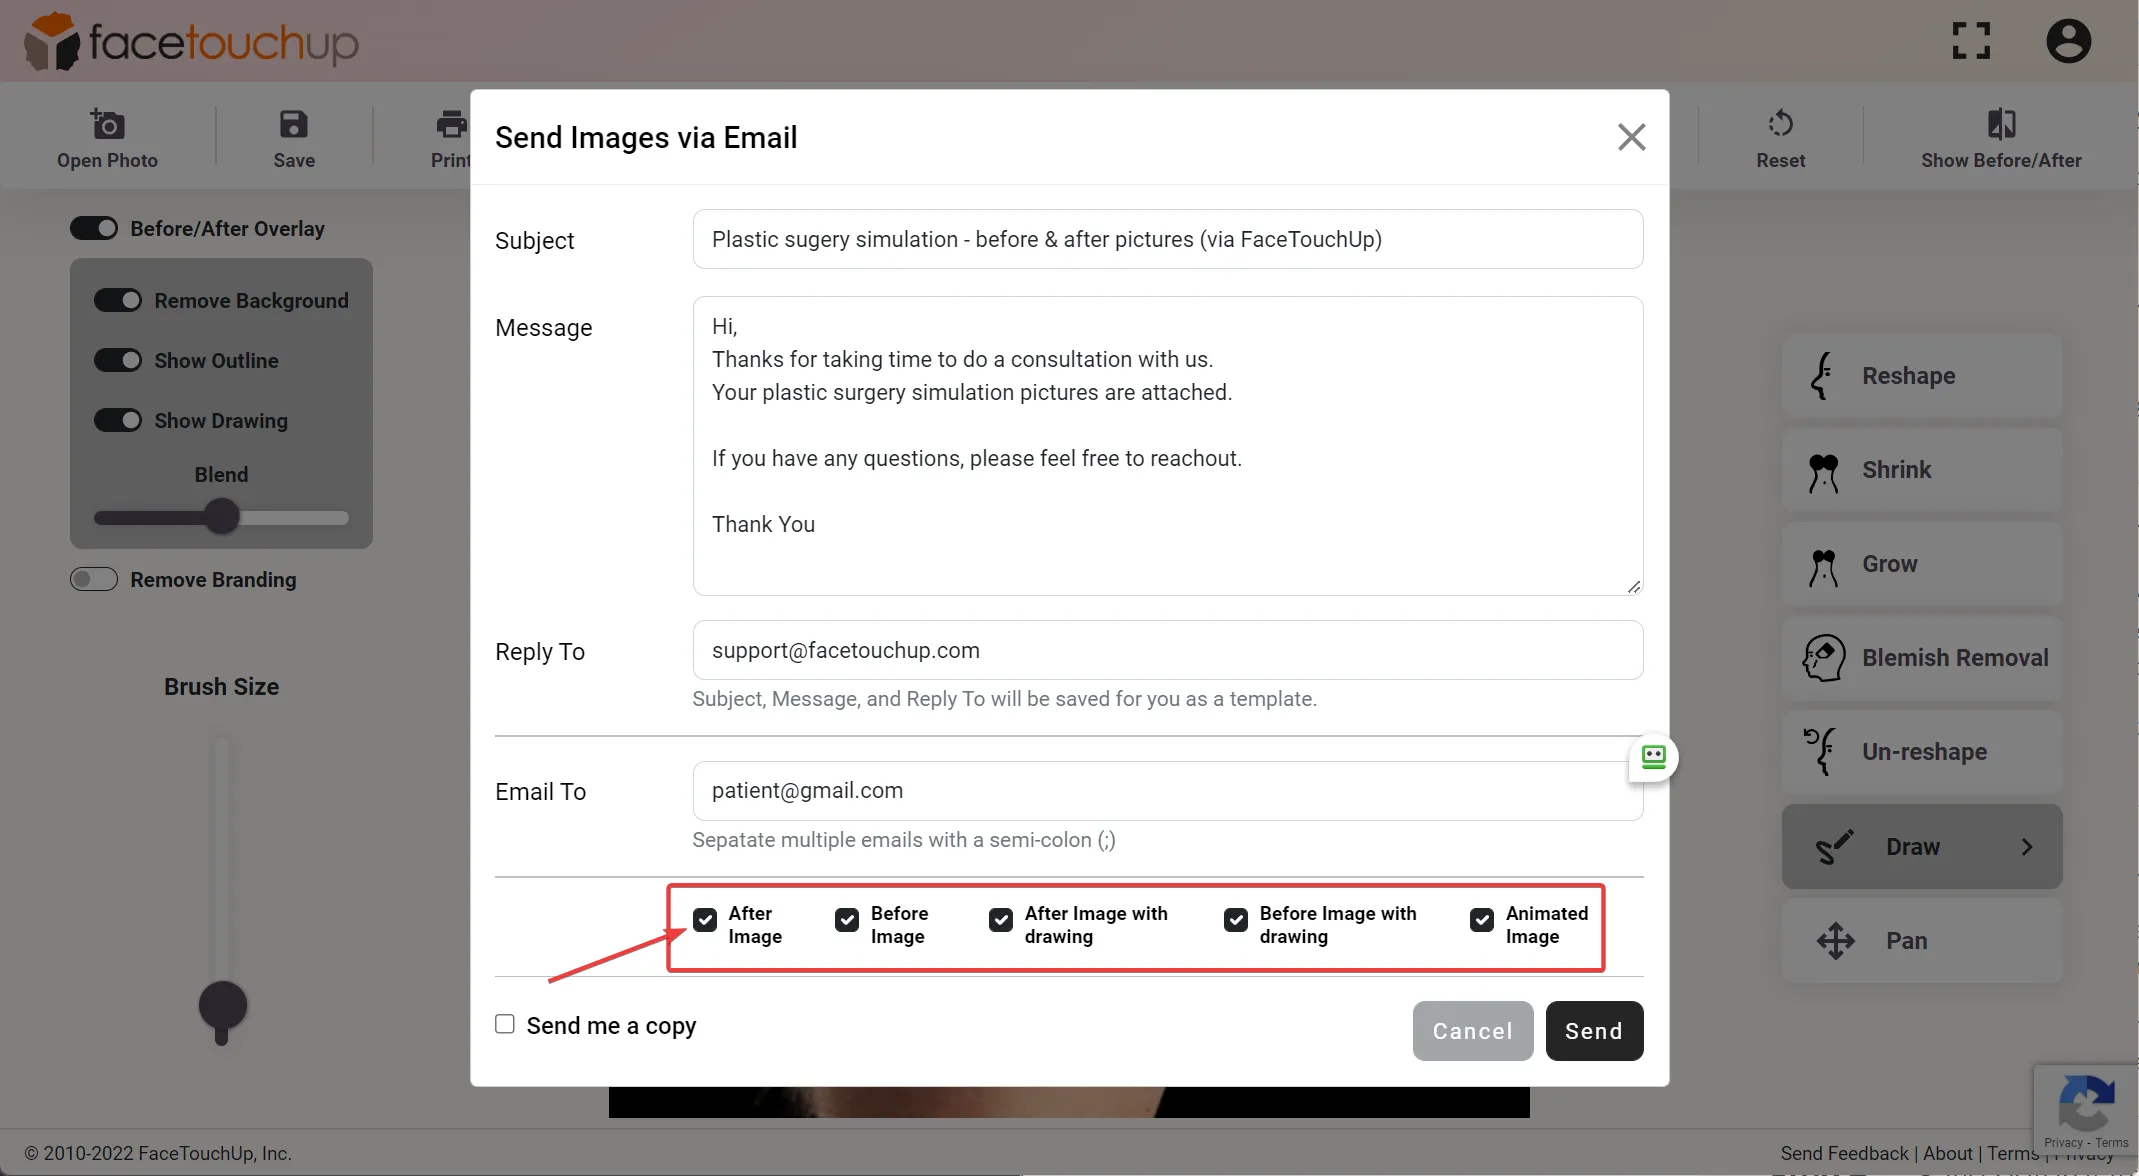
Doctors with a commercial license can also send emails to patients directly from within the tool. The contents of the email can be customized by the doctor.
Narrowing your nose’s front profile
Step 1 : Upload front profile photo
Open a front profile photo to simulate the front profile in a Rhinoplasty.
Again the Reshape tool is the most effective tool for simulating front profile
Step 2 : Adjust to narrow nose profile
Select one side of the nose with the mouse that needs to be narrowed. Hold the mouse button down and drag that side towards the center. Repeat for the other side.
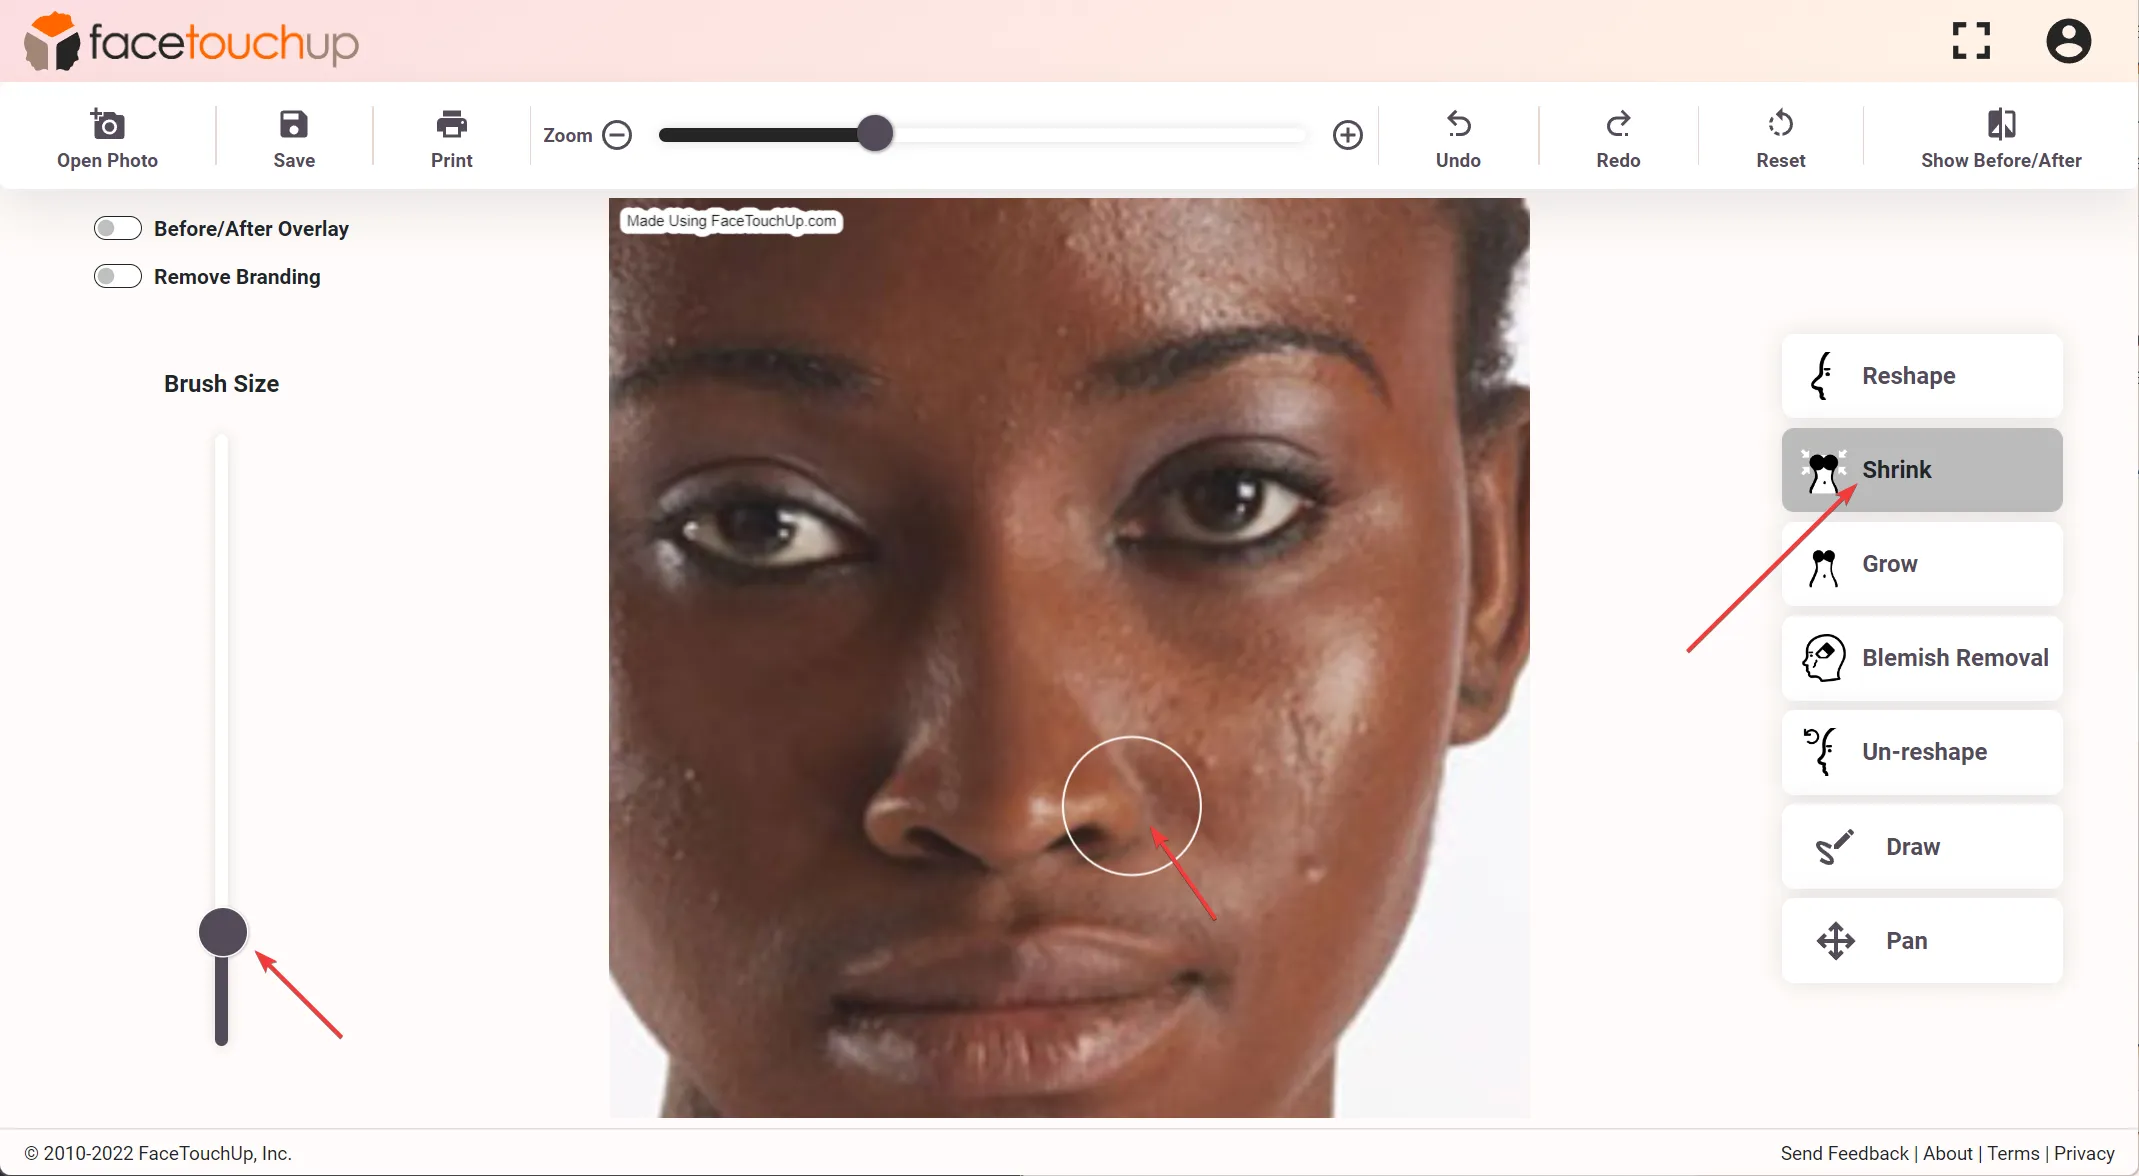
Step 3 : Use shrink & grow tools
Use the “Shrink” & “Grow” tools to make additional changes. The shrink tool can be helpful when simulating rhinoplasty in front profile photos.
Step 4 : Use blend tool (commercial license needed)
Doctors who have a subscription to the commercial license also have access to the Overlay feature, a tool specially made for plastic surgeons.
Toggle the Overlay feature and use the blend slider to dynamically showing the changes to the patient.
As you can see, it just takes a few minutes to simulate Rhinoplasties using FaceTouchUp. Our advanced AI-based tools make FaceTouchUp the best software to simulate Rhinoplasty accurately.
Now it’s your turn! Launch our nose job simulation tool to try it out with your own photos.
Is FaceTouchUp a Nose Job Filter?
You may have seen nose job filters on social media apps like Snapchat, Instagram, or TikTok. These filters apply a generic preset to your face, giving you a quick glimpse of a smaller or straighter nose. FaceTouchUp goes far beyond a simple nose job filter. Instead of applying a one-size-fits-all overlay, our simulator lets you reshape specific areas of your nose - the bridge, tip, nostrils, and profile - with precision control. You choose exactly how much to adjust and where, so the result reflects what you actually want rather than a preset look. Think of it as the difference between a photo filter and a professional editing tool. If you have been searching for a nose job filter to preview rhinoplasty results, FaceTouchUp gives you that same instant visualization with the accuracy and flexibility needed for real surgical planning. Try the simulator now and see the difference for yourself.
Side Profile Nose Simulation
The side profile view is the single most important angle for rhinoplasty planning. It reveals the bridge height, tip projection, and overall nasal contour that define your nose’s appearance. FaceTouchUp is built with side profile nose simulation as a core strength. Upload a side profile photo and use the reshape tool to smooth a dorsal hump, refine the nasal tip, or adjust the angle between your nose and upper lip. Surgeons frequently ask patients to bring side profile images to consultations because this view shows the changes that matter most. With FaceTouchUp, you can prepare those images at home by simulating exactly how your side profile nose could look after surgery. The tool preserves natural proportions while letting you experiment freely, so you and your surgeon can have a productive, visual conversation about your goals. Upload your side profile photo to get started.